HardwareProjects - DIY Geiger Counter
November 2013
About
How to make your own Geiger Counter:
- Purchase a kit from DIYGeigerCounter
- Purchase a geiger counter tube from Electronic Goldmine
- Assemble the electronics
- Put it in a case, such as mine on Thingiverse or your own
- Test it with a uranium-glazed pottery piece from Ebay
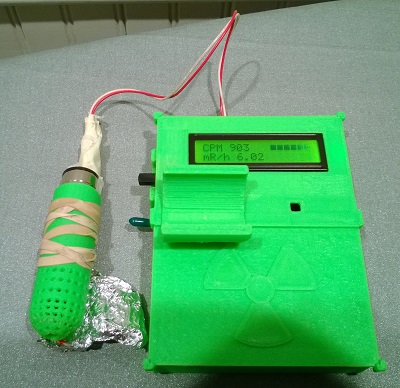
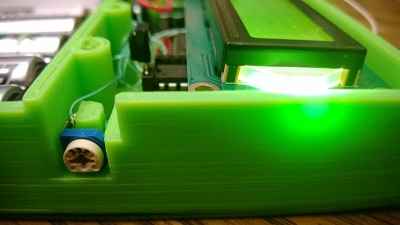
This case stores 6-AA's, the main electronics, the geiger-counter tube (as a snap-on component),
and various interactive components, such as the power switch (left side) and brightness control (right side).

Case Design
This was one of the first useful projects I designed and printed with my 3D printer.
The design was partly restricted, because I had to fit the entire case design within the build plate of the 3D printer I had then.
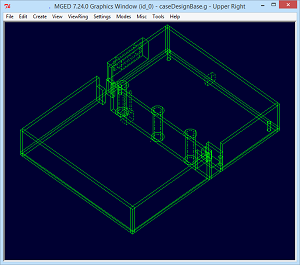
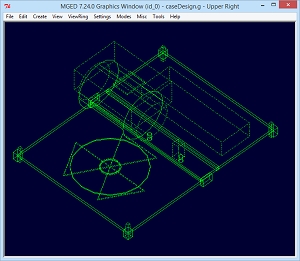
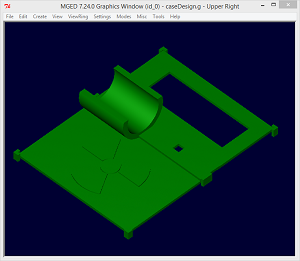
These models were designed using BRL-CAD, which gave me a scripting
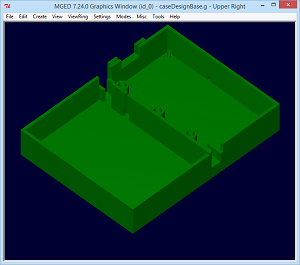
interface to create the models along with a graphical output view. With this design:
- The geiger counter base separates the battery storage from the electronics compartment
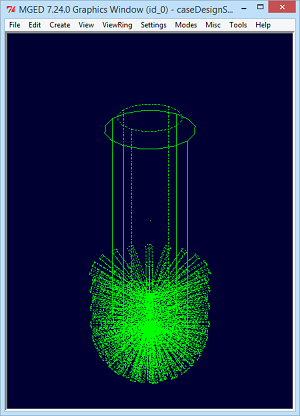
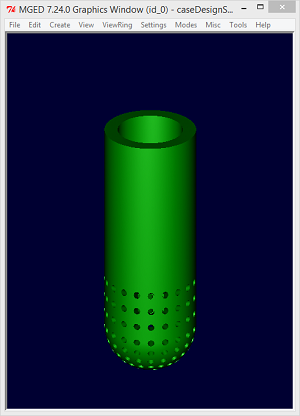
- The geiger counter lid u-pipe holds the geiger counter tube as a snap-in item
- The geiger counter tube holder has several holes, permitting charged particles to pass through
There's certainly several enhancements I'd make if I were recreating this design
or printing this design in bulk, but overall the entire design worked as expected.